Tire Maintenance & Safety
Free shipping
Best price guarantee
SimpleCrew exclusive savings
0% APR Financing
Tire replacement coverage
24/7 roadside assistance
Easy returns
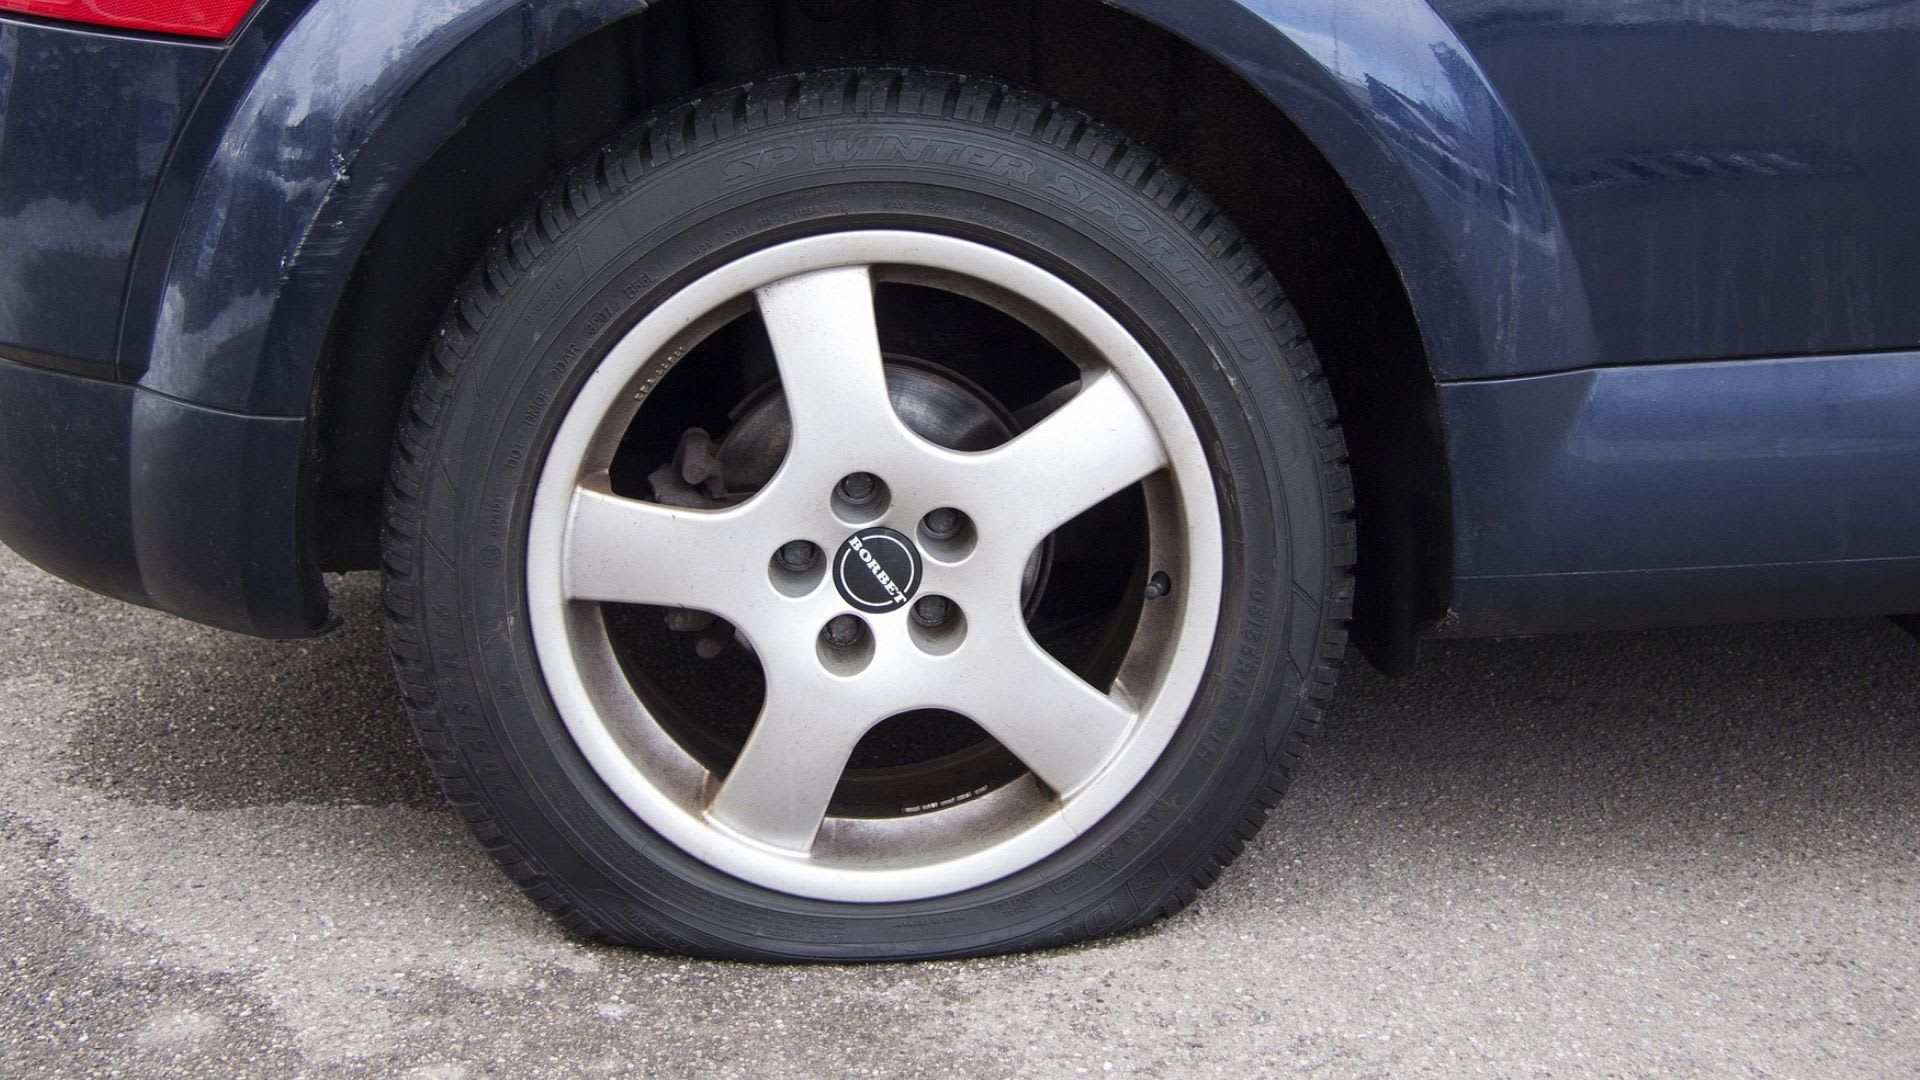
A flat tire can strike at any time, often when you least expect it. Whether you're running errands around town or embarking on a long road trip, being prepared for this common automotive issue is crucial.
Knowing how to change a tire is an essential skill that every driver should possess. Not only can it save you time and money, but it also provides peace of mind and a sense of self-reliance.
In this comprehensive guide, we'll walk you through the step-by-step process of changing a tire, ensuring that you're equipped with the knowledge and tools needed to tackle this task with confidence. So, let's dive in and learn how to change a tire like a pro!
Last updated 3/12/2025 - Originally published 3/12/2025
Written by SimpleTire, Expertly reviewed by Brett Antosh
What is changing a tire?
Changing a tire involves removing a flat or damaged tire from your vehicle and replacing it with a spare. This process is a temporary solution that allows you to safely drive your car to a repair shop until you can purchase a new tire.
The ability to change a tire is a valuable skill for any driver, as it can help you avoid being stranded on the side of the road and potentially costly towing fees. By familiarizing yourself with the tools and techniques required, you'll be better prepared to handle a flat tire situation with confidence and efficiency.
How to Change a Tire?
Handling a tire change at home is straightforward when you have the right equipment and precautions in place. Start by gathering necessary items such as a car jack, lug wrench, spare tire, and safety wedges. These tools are fundamental for executing a successful tire change and ensuring vehicle stability. Regular checks on the condition of these tools, along with storing them in an easily reachable spot, prepare you for any road emergencies.
Prioritizing safety is essential during a tire change. Choose a stable, flat area away from oncoming traffic to park your vehicle—this provides a firm foundation for your task. Activate your vehicle's hazard lights to signal other drivers, and secure the car with wheel wedges to prevent any movement. Establishing this controlled environment reduces the hazards associated with working near traffic.
The procedure for changing a tire involves several critical steps, starting with loosening the lug nuts while the tire remains grounded. This initial step simplifies the tire removal once the car is elevated. Consult your vehicle’s manual to locate the proper point for jack placement, then carefully lift the car until the tire clears the ground. This method ensures that the vehicle remains stable throughout the tire change, minimizing any potential risks.
1. Gather Your Tools
A successful tire change starts with having a comprehensive set of equipment. Essential items include a dependable car jack, a versatile lug wrench, a properly maintained spare tire, and chocks to prevent movement. These components are crucial for executing the tire change safely and efficiently.
It's important to periodically verify that each piece of equipment is functioning as expected. Any malfunctioning tools could complicate the task and increase difficulty. Ensure these tools are organized and stored in a place where you can quickly access them during an emergency.
Before setting out, confirm that your car's emergency kit is fully stocked. Missing items can delay or impede the tire-changing process. Review your vehicle’s guide for any specific tools that might be recommended for your model, ensuring a hassle-free experience on the road.
2. Find a Safe Spot
Identifying an ideal location to address a flat tire is vital for both your safety and the task's success. When you detect an issue, carefully guide your car to a flat, firm surface away from passing traffic. This could be a parking area or a spacious roadside shoulder, providing a secure space to complete the tire change without disruptions.
Turning on your vehicle's emergency flashers is crucial once you've stopped. This alerts other motorists that your vehicle is stationary and prompts them to be cautious as they approach. It is especially important during nighttime or in heavy traffic conditions, where visibility may be compromised.
To further ensure your vehicle's steadiness, place wheel wedges against the tires on the opposite side of the flat. Even on seemingly flat ground, these wedges are essential to prevent any unintended vehicle movement, allowing you to concentrate on the task with assurance.
3. Loosen the Lug Nuts
Begin by addressing the lug nuts that secure the flat tire. Place the lug wrench onto each nut and apply steady pressure to turn them counterclockwise. This initial action breaks the tight seal and prepares them for easier removal later. The design of the wrench provides the leverage needed to start this process without excessive strain.
Keep the tire in contact with the ground while loosening the nuts. This stability ensures that you can work efficiently without the vehicle shifting unexpectedly. Focus on loosening each nut enough to facilitate quick removal once the car is lifted.
A well-prepared loosening of the lug nuts streamlines the entire tire change. This careful preparation removes the need for extra tools and ensures that subsequent steps proceed smoothly, making the transition to removing and replacing the tire as straightforward as possible.
4. Lift the Car with a Jack

Elevating the vehicle with a jack is a crucial step in changing a tire. Begin by checking your vehicle’s manual to find the recommended support point for the jack, typically located on the vehicle's frame near the affected tire. This helps distribute the vehicle's weight properly, avoiding damage and ensuring a safe lift.
Position the jack carefully at the specified location and start lifting the vehicle. Use controlled, even movements to raise the car until the tire is sufficiently off the ground for removal, usually around six inches. Keep an eye out for any signs of instability, like wobbling, and make adjustments as needed to keep the vehicle steady.
After achieving the necessary height, confirm that the vehicle remains stable. It should be securely supported by the jack, with any additional wheel chocks providing extra safety. This setup ensures that you can proceed with removing the flat tire and installing the spare without risk.
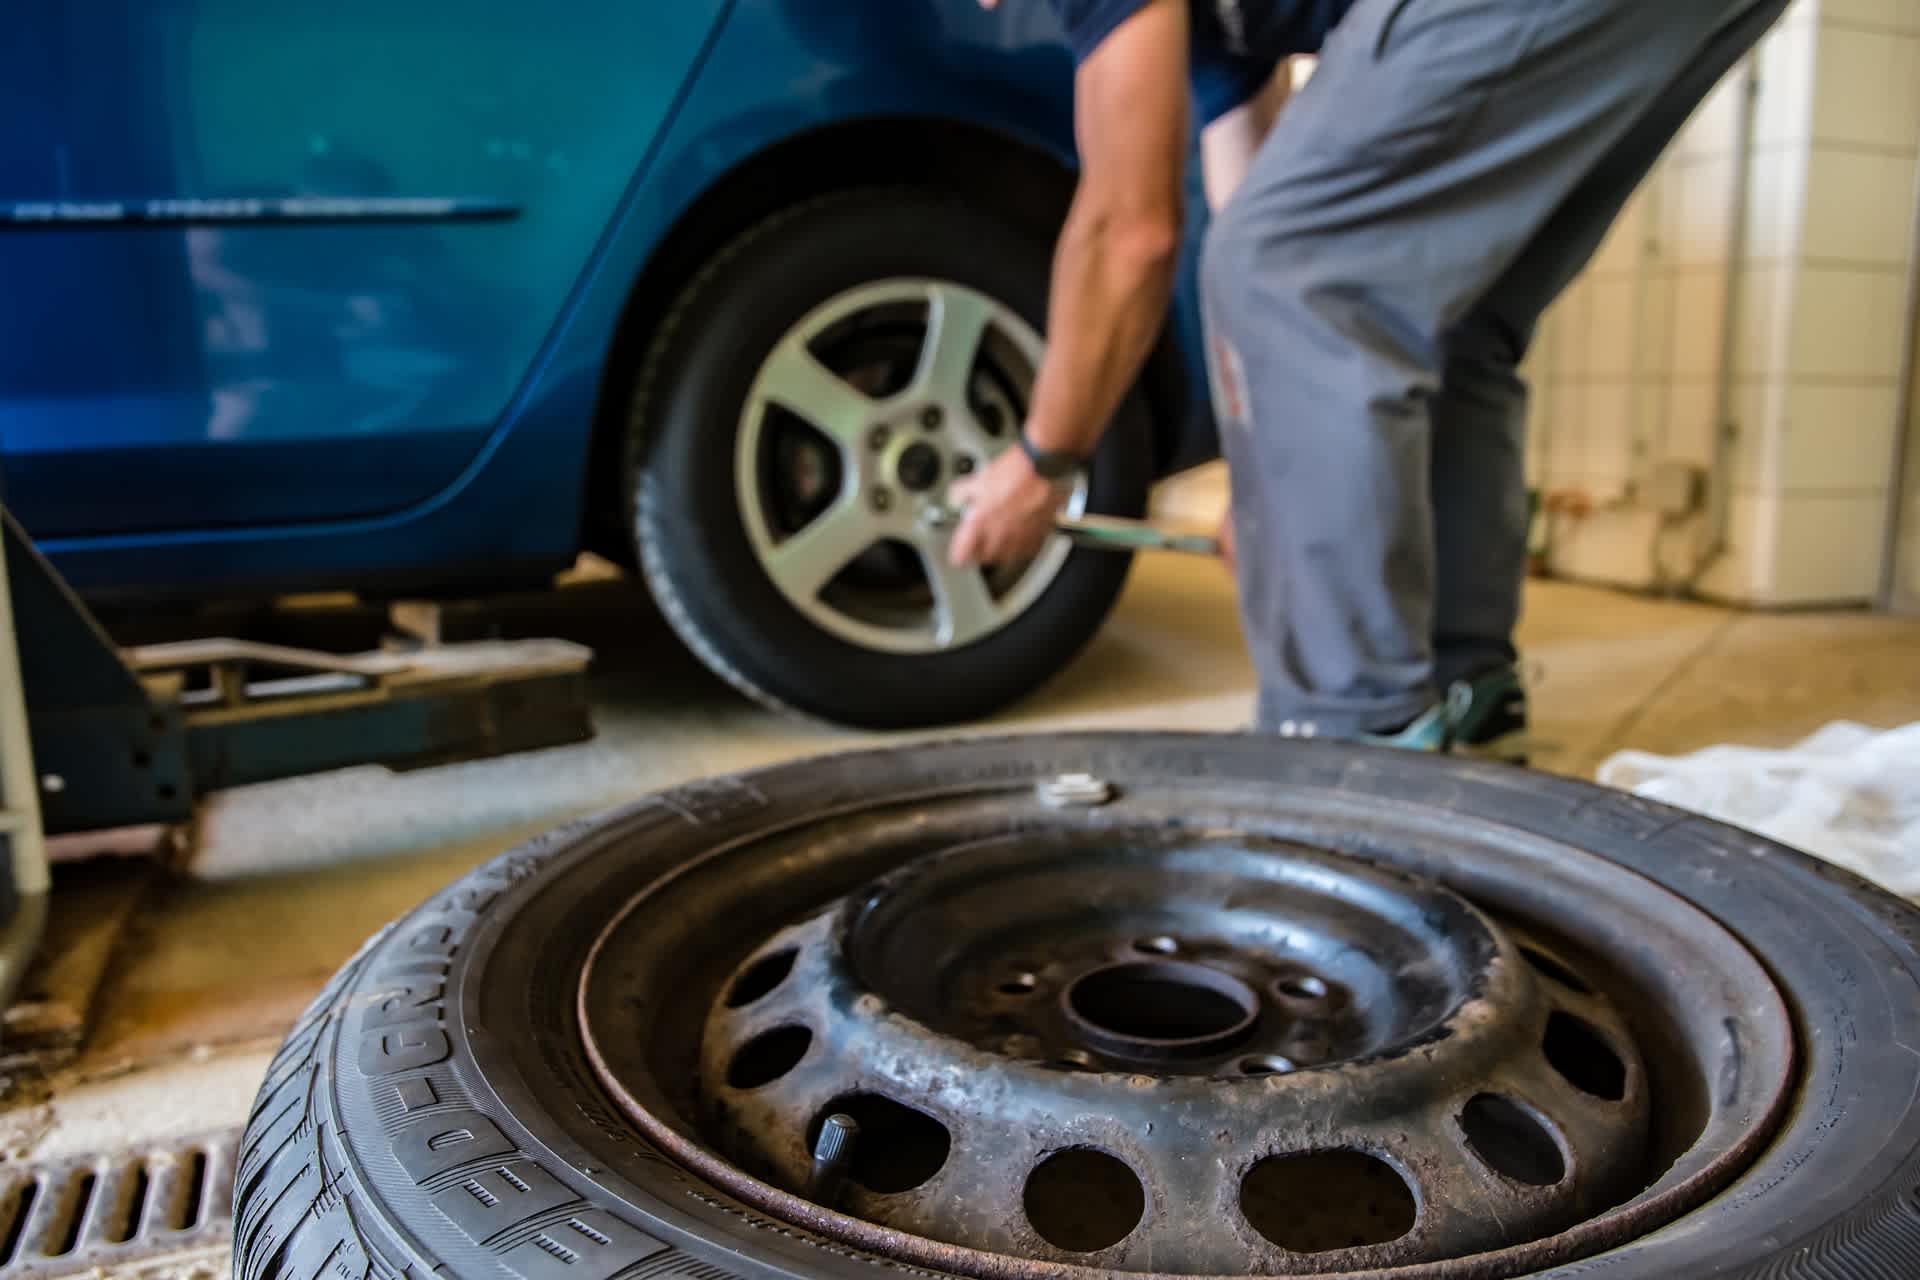
5. Remove the Flat Tire
With the vehicle securely elevated, proceed to fully unscrew the loosened lug nuts. Place each nut in a secure location such as a small container, which helps prevent them from getting lost during the tire change. Keeping the nuts together ensures they are ready for reinstallation when you mount the spare tire.
After storing the lug nuts, grasp the flat tire with both hands to remove it from the wheel hub. If it feels stuck, gently wiggle the tire to ease it off. Set the removed tire in a location where it won't obstruct your work area or create a safety hazard.
Before installing the spare tire, take a moment to check the wheel hub for any debris or visible damage. This quick inspection is important to ensure the new tire fits securely and operates correctly, preparing you for the next step in the tire change process.
6. Install the Spare Tire
After setting the flat tire aside, position the spare tire by aligning its holes with the wheel bolts. This alignment guarantees a snug fit on the hub, ensuring stability and proper alignment. Carefully lift and slide the spare tire onto the bolts, making sure it sits flush against the hub to promote safe driving conditions.
Begin threading the lug nuts onto the bolts by hand, following a crisscross or star pattern. This approach evenly distributes the tension across the wheel to prevent any distortion that might occur with sequential tightening. Hand-threading the nuts helps avoid cross-threading, which can cause damage to both the nuts and bolts.
Use the lug wrench to further secure the nuts, applying gentle pressure while the car remains elevated. This prepares the spare for final adjustments once the vehicle is lowered, ensuring that the tire is securely fastened for safe travel.
7. Lower the Car and Tighten the Lug Nuts
With the spare tire in place, it's time to gently lower the vehicle back to the ground. Slowly release the jack, ensuring the car descends evenly and securely rests on its wheels. This step allows the weight of the vehicle to settle, ensuring the spare tire fits snugly against the hub.
Once the car is on the ground, use the lug wrench to tighten the lug nuts further. Tighten each nut in a diagonal sequence—this helps maintain balance and alignment of the wheel. Apply firm pressure on each nut to secure the wheel firmly against the hub, knowing that consistent tightening is crucial to prevent future issues.
After securing the nuts, inspect each one to ensure it is tight and secure. A thorough check confirms that no loose nuts remain, assuring wheel movement or detachment while driving. This final step completes the tire change, preparing you for a safe journey ahead.
8. Check Tire Pressure and Clean Up
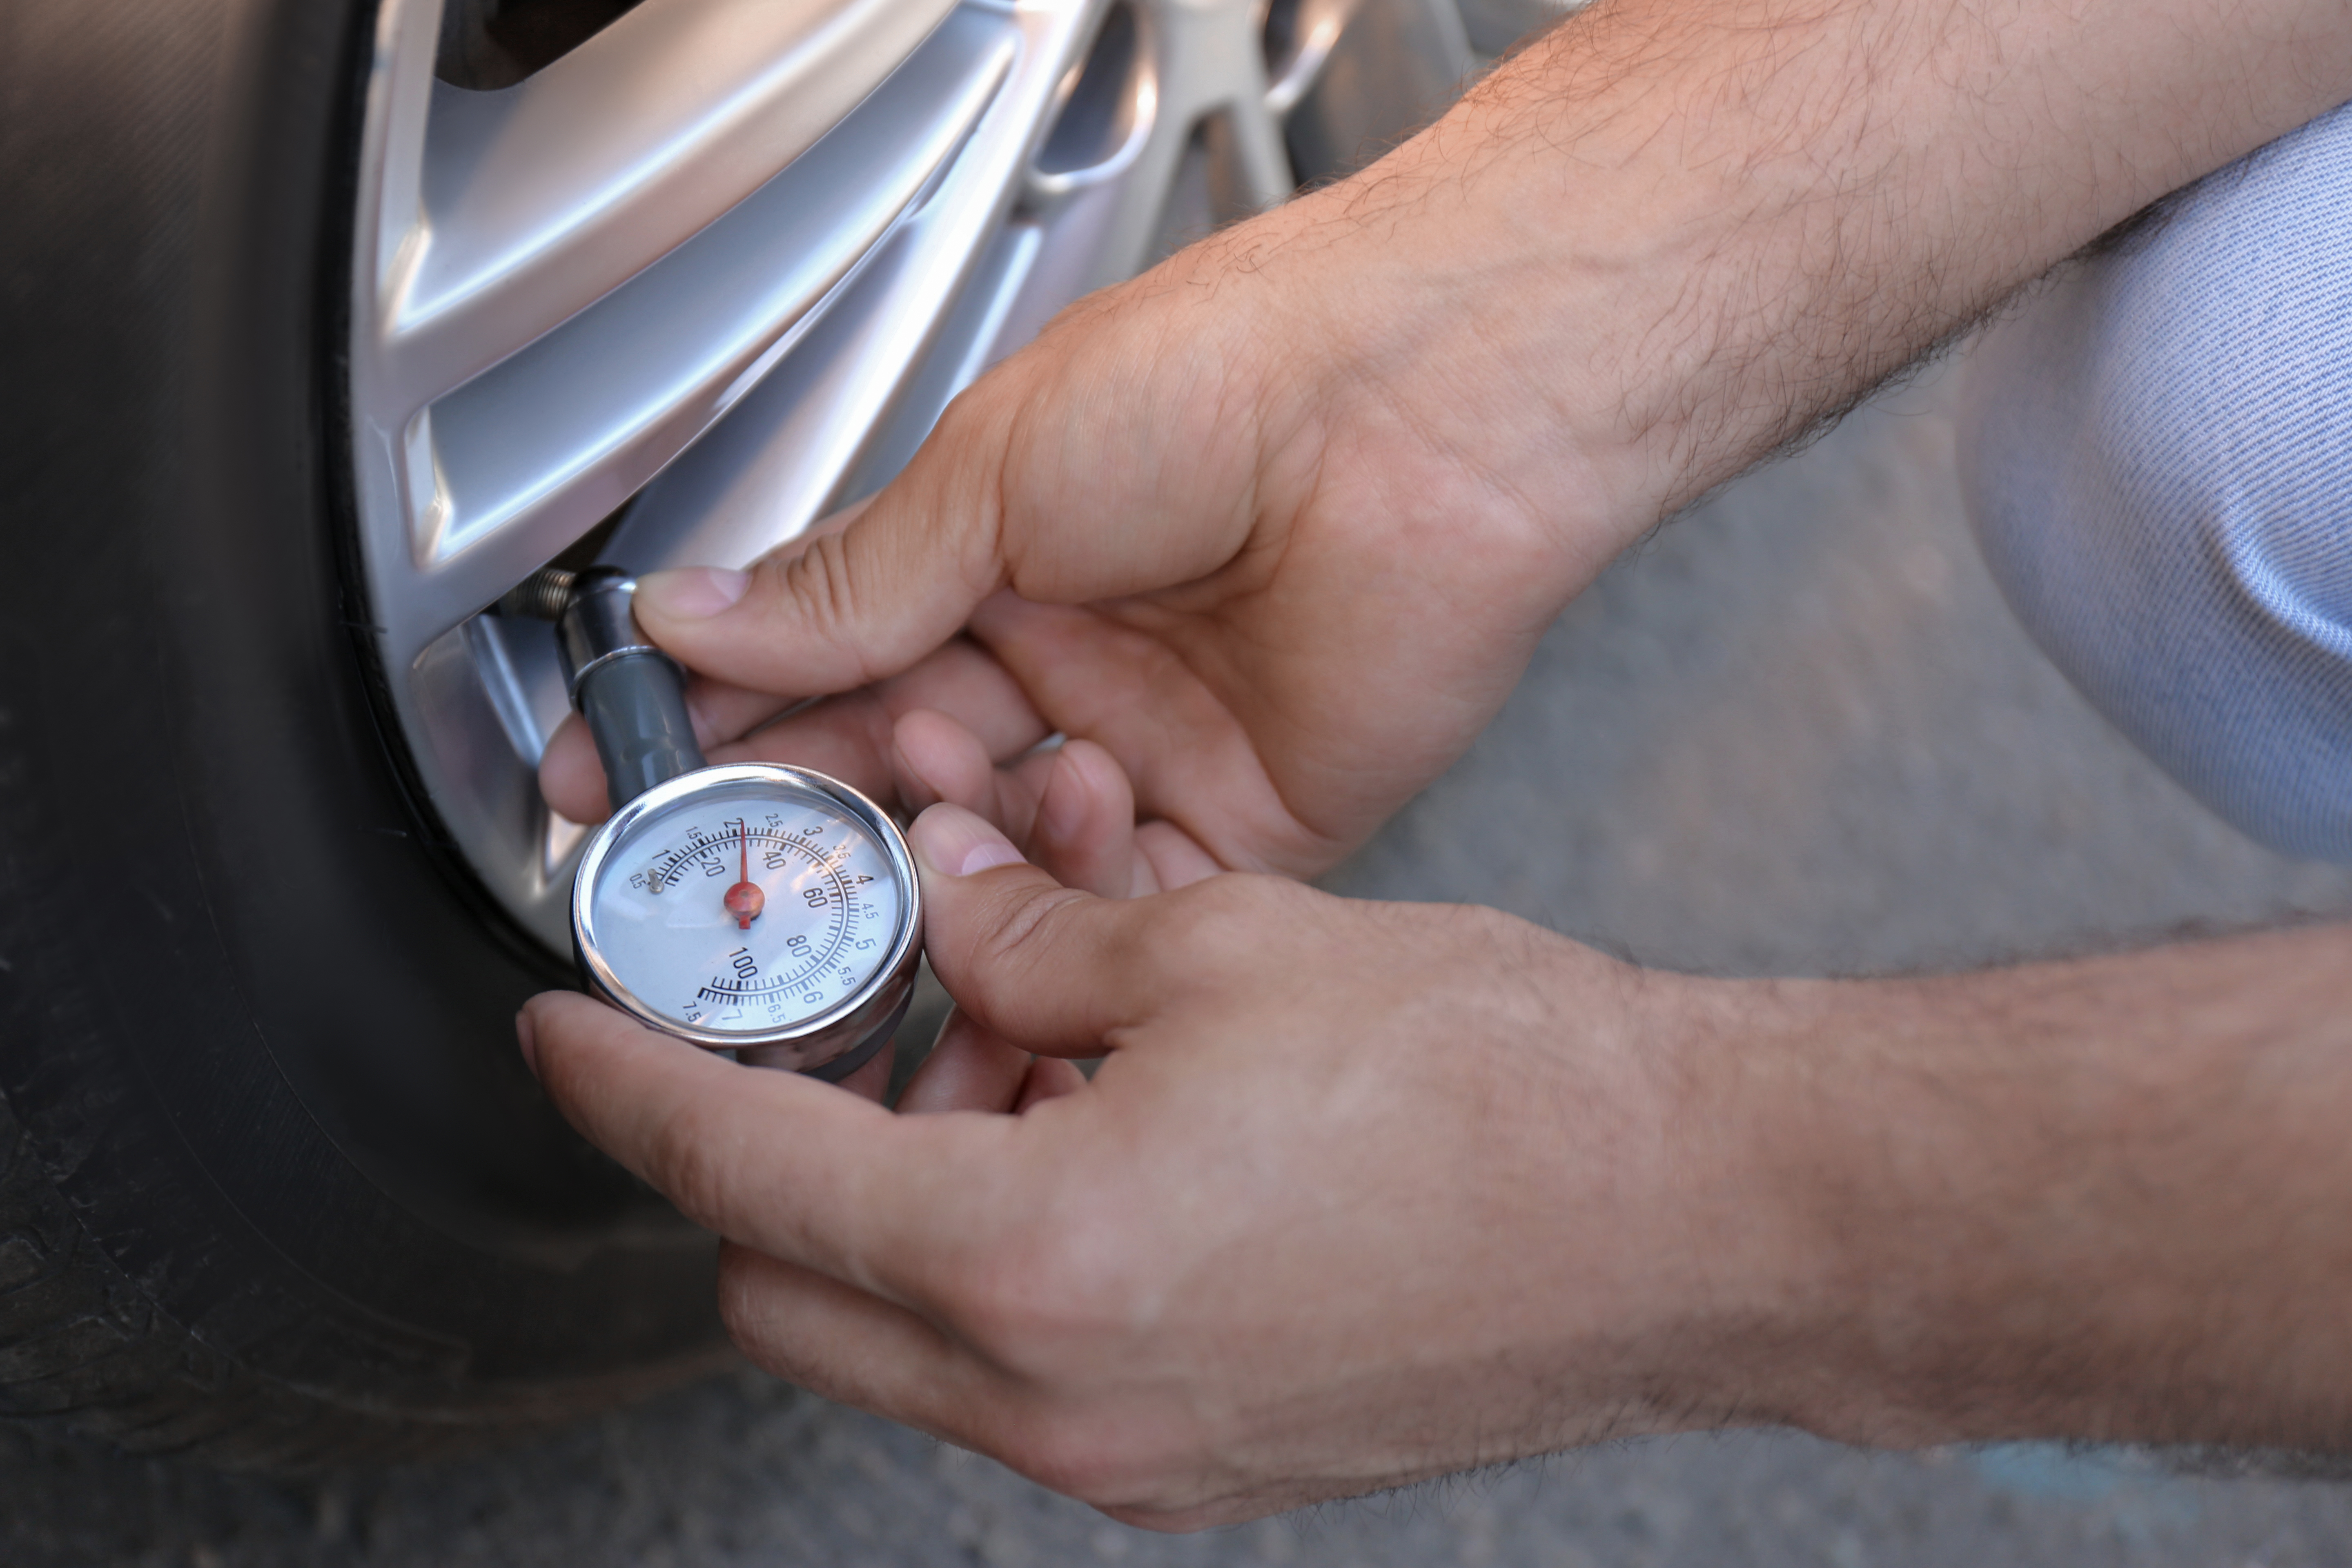
Once the spare tire is in place, it's important to verify its air pressure for safe driving. Utilize a tire pressure gauge to measure the current PSI, ensuring it meets the specifications outlined in your vehicle’s manual. Should the reading fall short, employ a portable air compressor to adjust the tire to its proper inflation level, which is critical for the tire's performance and longevity.
After confirming the tire's pressure, gather your tools for storage. Collect the jack, lug wrench, and any other equipment used during the tire change, placing them back in their respective spots within your vehicle. Keeping your toolkit organized helps maintain readiness for future roadside situations and ensures a hassle-free experience.
Securely place the flat tire in your vehicle's cargo area, ensuring it remains stable and doesn’t move during transit. This careful arrangement protects your vehicle's interior and keeps the tire accessible for repair or replacement at your convenience.
Tips on Changing a Tire Safely
1. Stay Calm and Focused
Approach the situation with a clear mind and deliberate actions. By maintaining focus, you can handle each step efficiently without overlooking any crucial details. This mindset ensures that you address the task at hand methodically, reducing the likelihood of mistakes during the tire change.
2. Regularly Inspect Your Spare Tire
Check your spare tire periodically for damage and proper inflation. Consistently monitoring its condition ensures that it’s ready for use whenever needed, preventing additional complications in an emergency. This habit guarantees that your spare tire remains dependable and effective for the road ahead.
3. Practice Makes Perfect
Gain confidence by familiarizing yourself with the tire-changing process in a controlled environment. Regular practice helps you become adept at the procedure, allowing you to operate smoothly and swiftly when faced with a real flat tire. This preparation empowers you to manage emergencies with assurance and competence.
Mastering the art of changing a tire is an invaluable skill that empowers you to handle unexpected situations with confidence. At SimpleTire, we understand the importance of being prepared for roadside emergencies, which is why we offer a wide selection of high-quality tires at competitive prices. When you're ready to shop for tires online, trust us to provide the best deals and exceptional customer service to keep you rolling safely.
Ready to find the perfect tires?
Search By